How to build a chicken coop

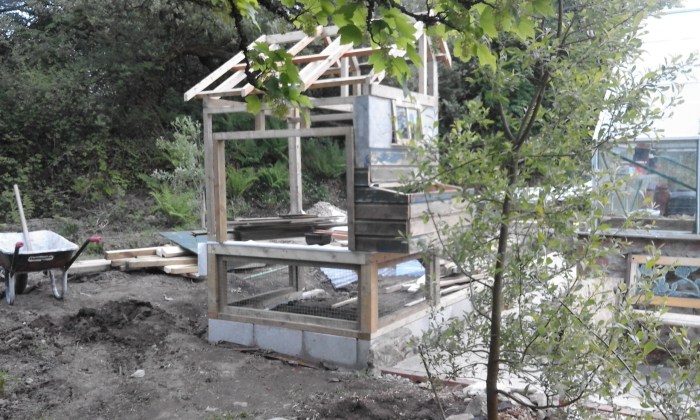
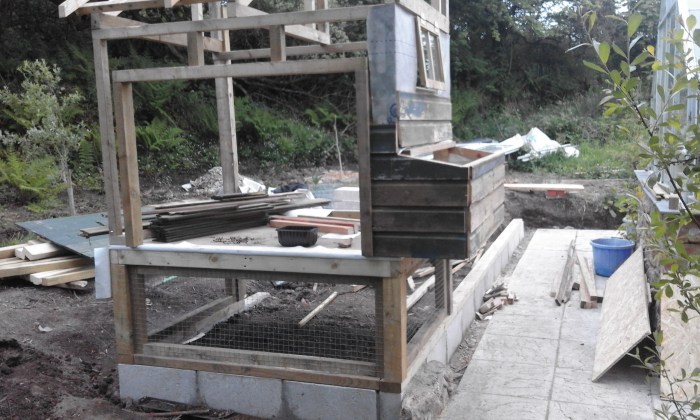
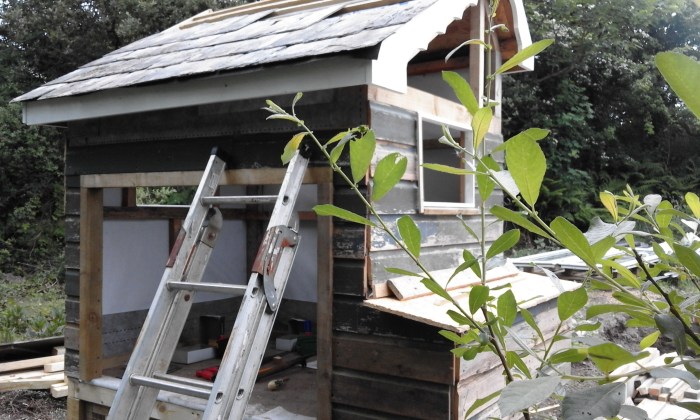
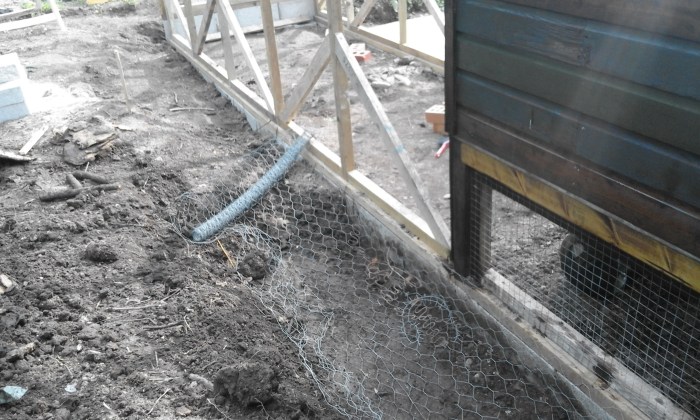
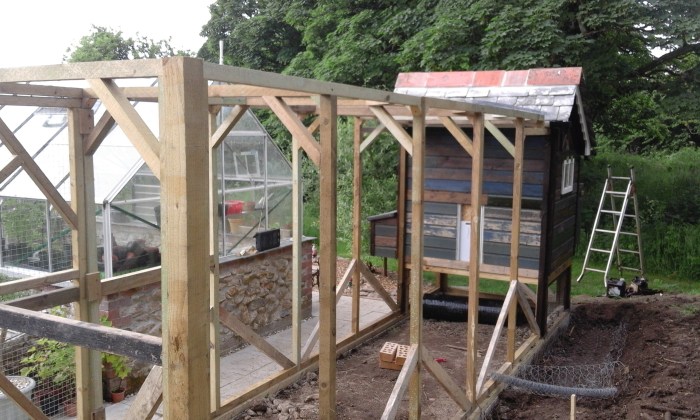
Before we brought chickens to our garden, we had to build them a home. Enter – chicken coop design and build expert! We measured out the run to give optimum space per chicken – I think the minimum recommended is 2sqft per chicken for the coop and 8sqft per chicken for the run. That’s 10sqft and 40sqft for five birds. Our coop measures approximately 20 square feet (5×4) and the run is about 90 square feet (18×5) – about double the minimum recommended.

pile of rubble in garden with planks of wood
The plot before the build began

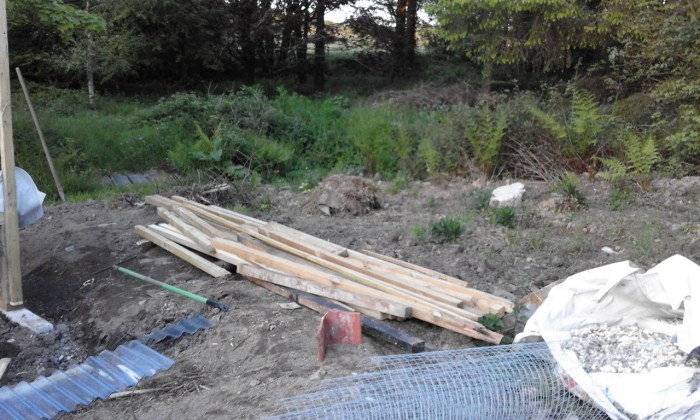
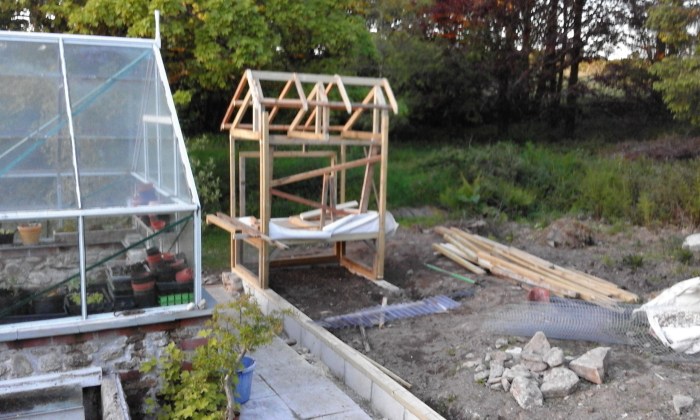
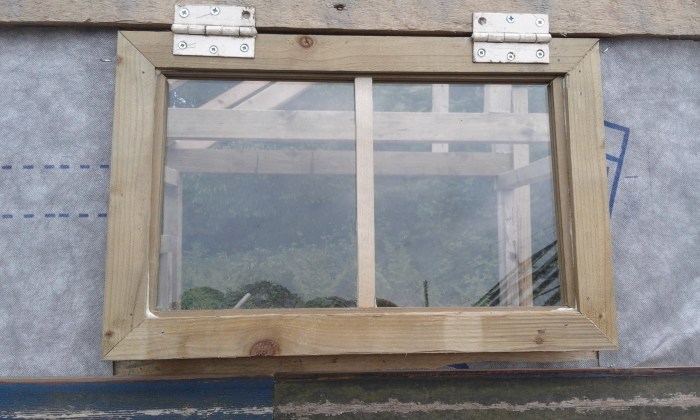
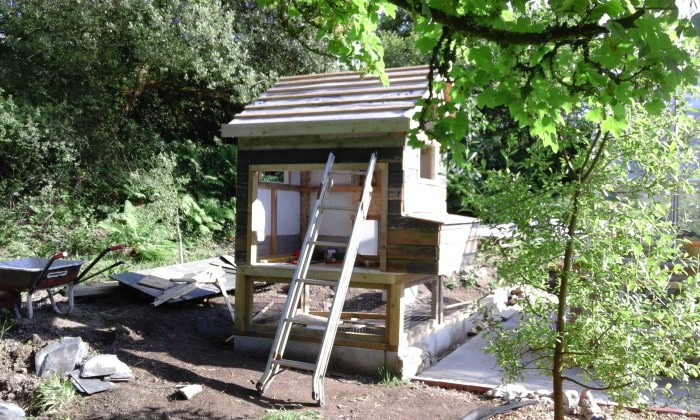
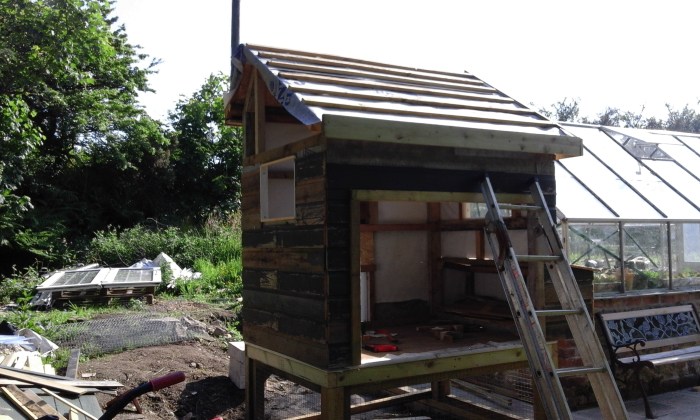
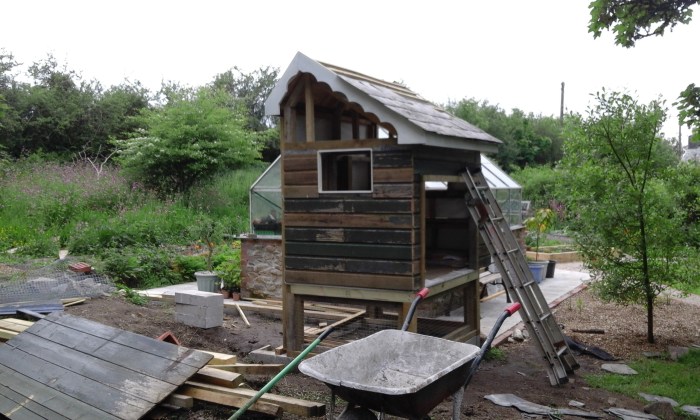
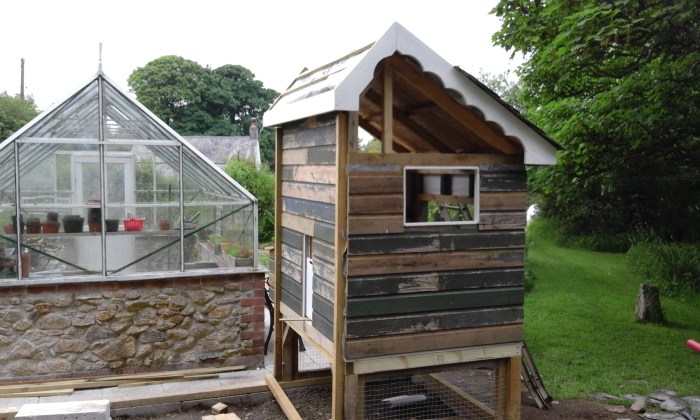
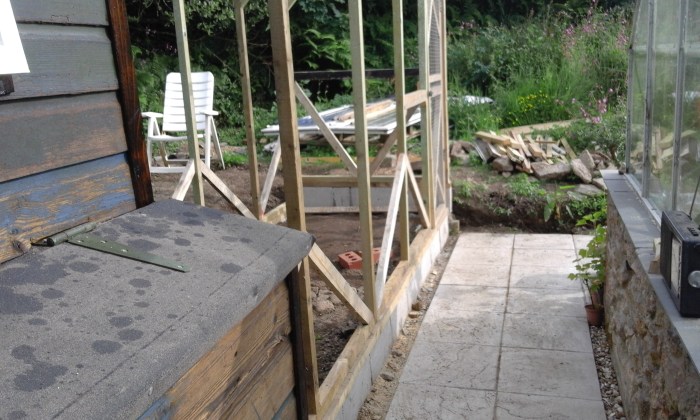
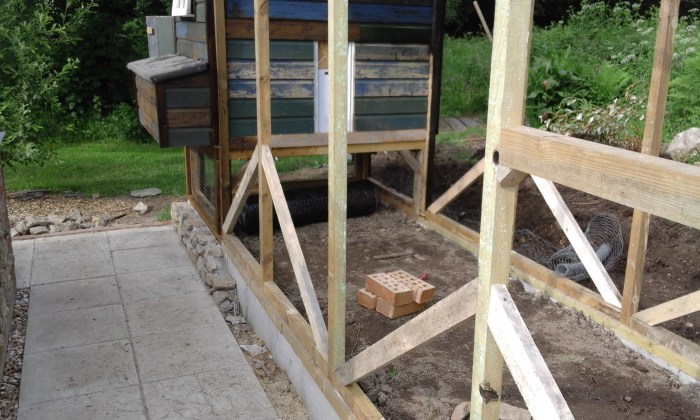
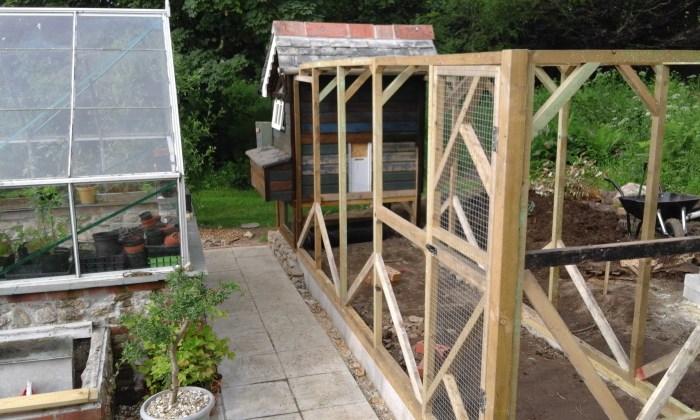
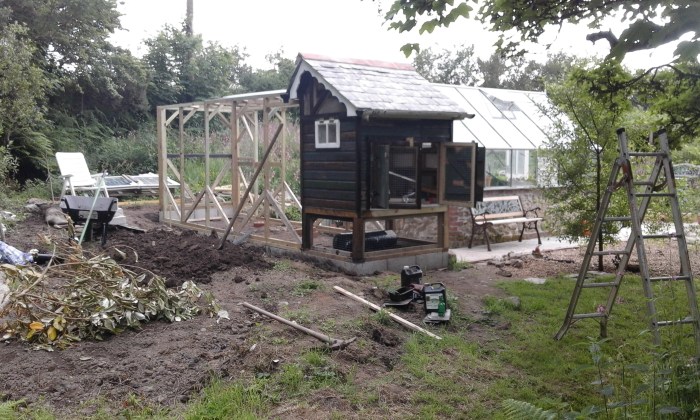
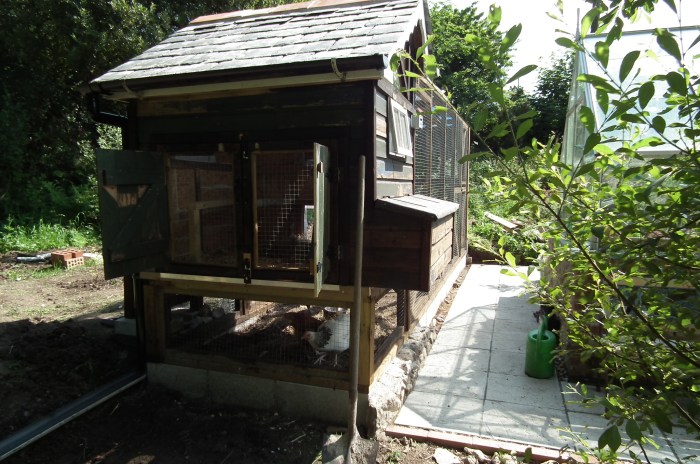
We started with proper deep foundations so no nasty old foxes can get in. We then built a timber frame and used old shiplap resourced from a dismantled shed for the coop. There’s a waterproof breathable membrane lining the coop. A slate roof with decorated barge boards was our little design twist. The coop has two windows, one either side. These were knocked up quite quickly so might need replacing at some point. The gable ends are fitted with perspex but the windows are proper glass.

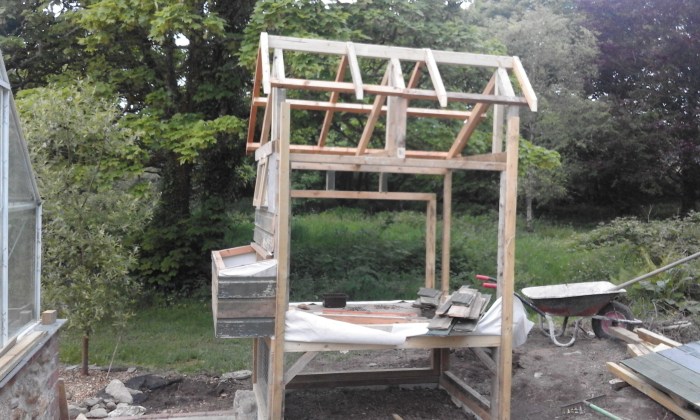
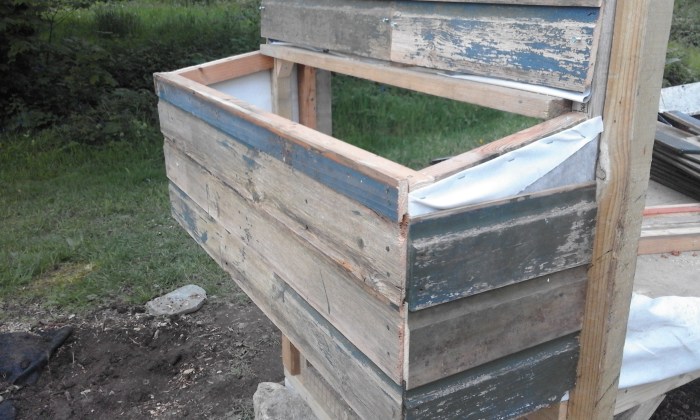
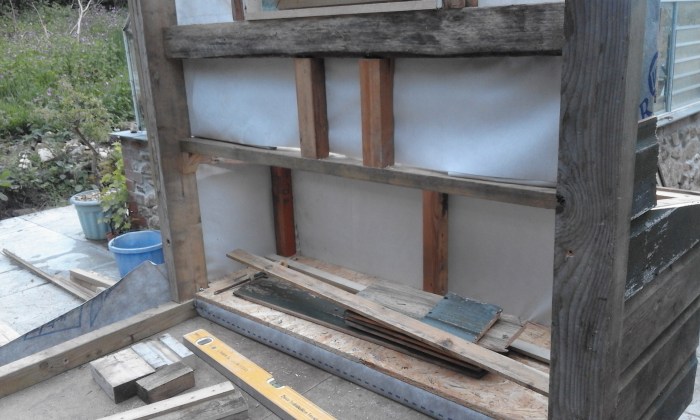
We made a ‘double door’ to the back of the coop so we can air it (while keeping it securely shut) and clean it easily. The nesting boxes are on the outside for easy access to all those delicious fresh eggs. The run had been re-floored a few times – we learn by experience and the wet weather.

  • double back doors to coop for extra security, easy airing and cleaning
  • roof with decorative gable ends
  • timber frame for the run

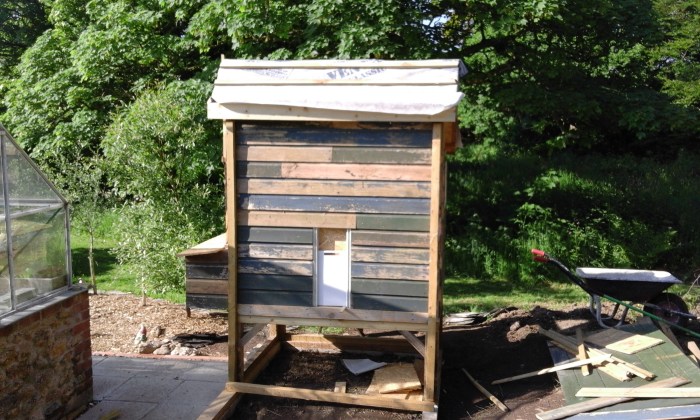
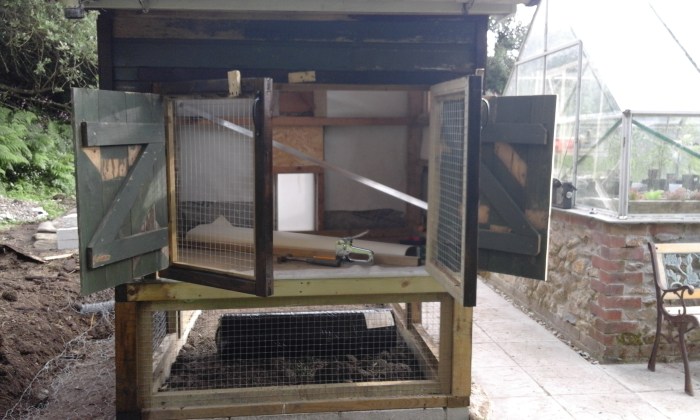
We let them out as much as possible. They are free-range for part of the day at least. Their coop has a timed electrical door (made from a plastic chopping board – won’t swell in the damp) that opens in the morning and closes at night so we don’t always have to be around. We do check regularly – the pulley has worn away before and the battery has had hiccups. But generally, it’s a great system.

  • Jolene our Sussex light
  • Martha our speckled Maran

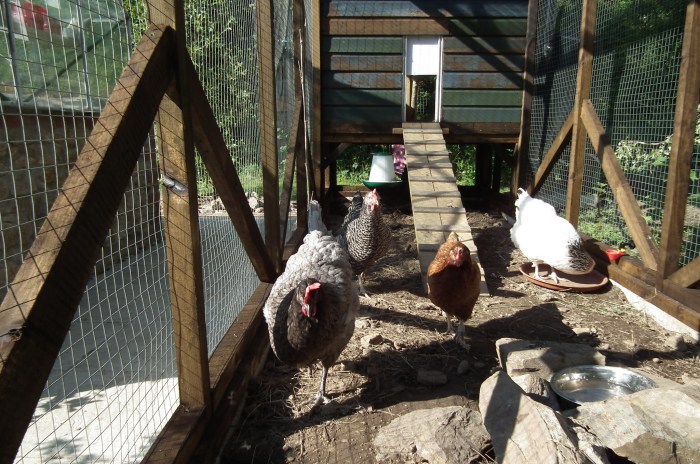
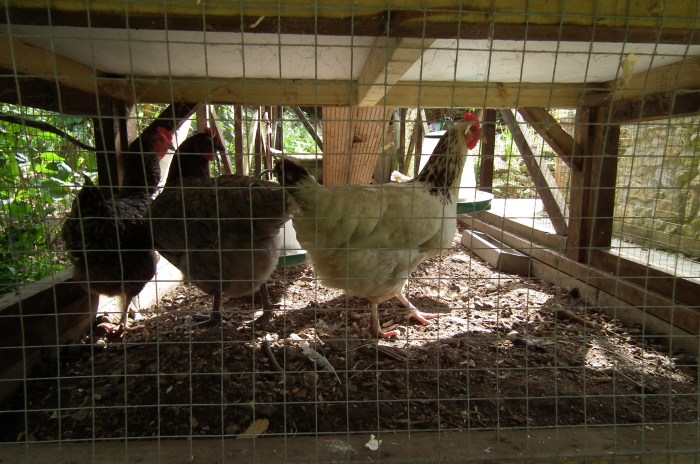
Finally, for proof of the success of our self-build chicken coop, do click on the videos and watch our happy chickens at play.

How to build a fireplace

When we moved to Millbrook Cottage, there was a low fireplace with a kind of slate mock-chimney effect built up the wall – 1970s style, we thought. Not only did this make little of the superb piece of granite embedded in the design, but the fireplace didn’t function – there was no space for the fire to draw. We needed a bigger, better-looking fireplace. So we cracked on with it – literally!

  • Old slate fireplace as we found it
  • Old fireplace removed
  • Granite lintel - on the floor

We smashed the old thing to pieces so for a while there was rubble all over the front room floor. Once this had been demolished (saving the prize granite lintel), the first job was to create the two pillar sides – built by erecting and cementing concrete blocks either side of the fireplace. The next job was to lift the huge lintel – the main feature – up on to these two pillars. Back-breaking but three of us hoisted it up by ‘walking it’ on to concrete blocks: one block at a time, one end at a time, until we had it at the right height. It was then placed on top of the newly-built pillars above the fireplace to form this wonderful mantelpiece. Lastly, we laid a slate floor, using bits of slate from the garden and leftover slate tiles from another job.

  • Building the fireplace
  • concrete pillars
  • Ready to lift the granite lintel
  • Lintel in place

After that, it was just a case of a quick paint job inside – and then we were ready to have our wonderful ‘Clearview Vision 500’ woodburner fitted. So glad we opted for the 10kW model – the heat really kicks out and as this is our main form of heating in the whole cottage, that’s quite important. It’s multifuel and a beauty with a nice big clear window so we can gaze at the fire on winter evenings. Note the stove fan on the top of the woodburner – this distributes the heat and makes for a pleasantly-hypnotic touch. To the right, a ‘beer buddy bottle opener’ – very handy!

  • Me painting the fireplace
  • New fireplace with woodburner installed
  • View of fireplace in lounge
  • Fire lit!